I have implemented NextCloud in my environment. I need to design a blueprint and let my clients to send their request to access a 5 GB space on NextCloud environment so I decided to integrate my NextCloud to Active Directory then design a XaaS blueprint that run a custom workflow to add my clients username to a specific group that has already accessed 5 GB on NextCloud.
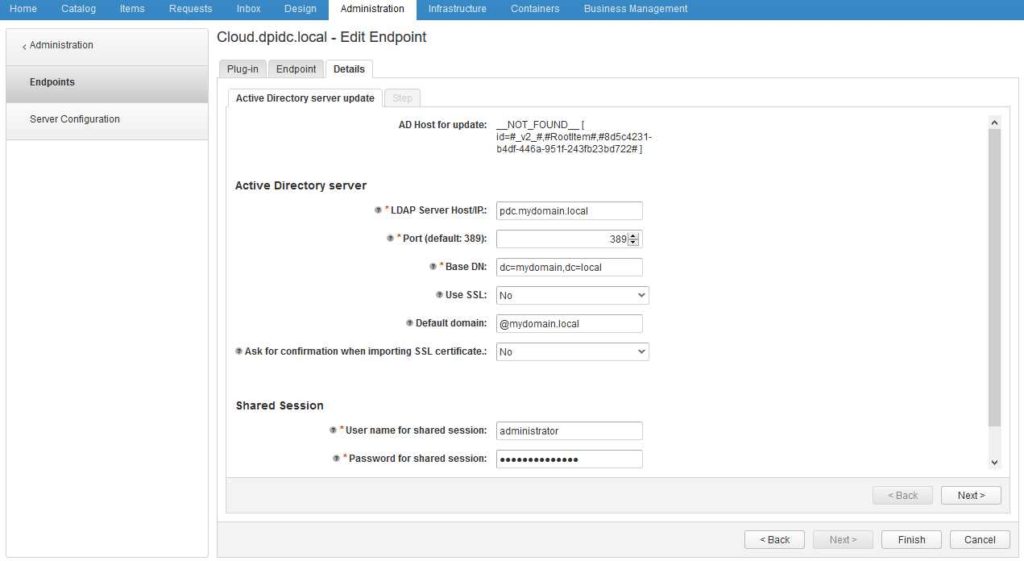
Before working with Active Directory plugin, I should configure my active directory as an endpoint within the vRealize Automation.
I go to the administration\vRO Configuration\endpoints the select new and choose Active directory and configure it as shown below

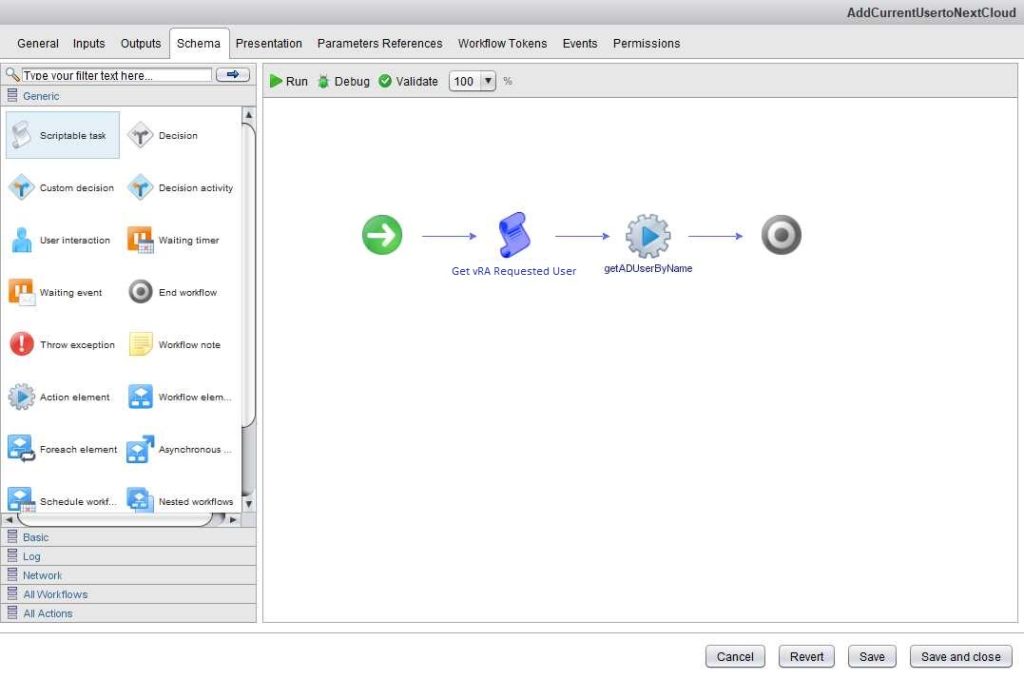
Our workflow contains 3 parts:
- At the first it reads requested username which is a active directory username (Get vRA Requested User)
- Use username string to search in active directory and seek the exact username in AD:User format (getAdUserByname)
- Try to connect the active directory and join in to the NextCloud group which is already accessed to 5GB space on the NextCloud environment (Add a user to a user group)

In the first part I should write a custom script that read a string username from requested packet so I need to create a workflow in vRO
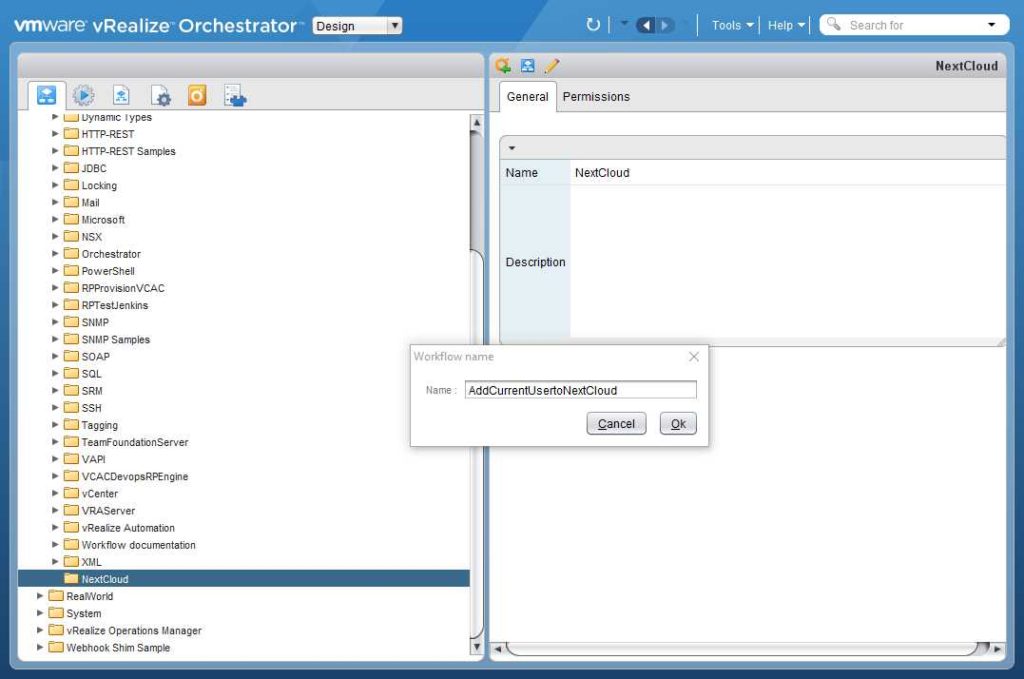
On the workflow tab I create a folder named NextCloud and create this my workflow within it
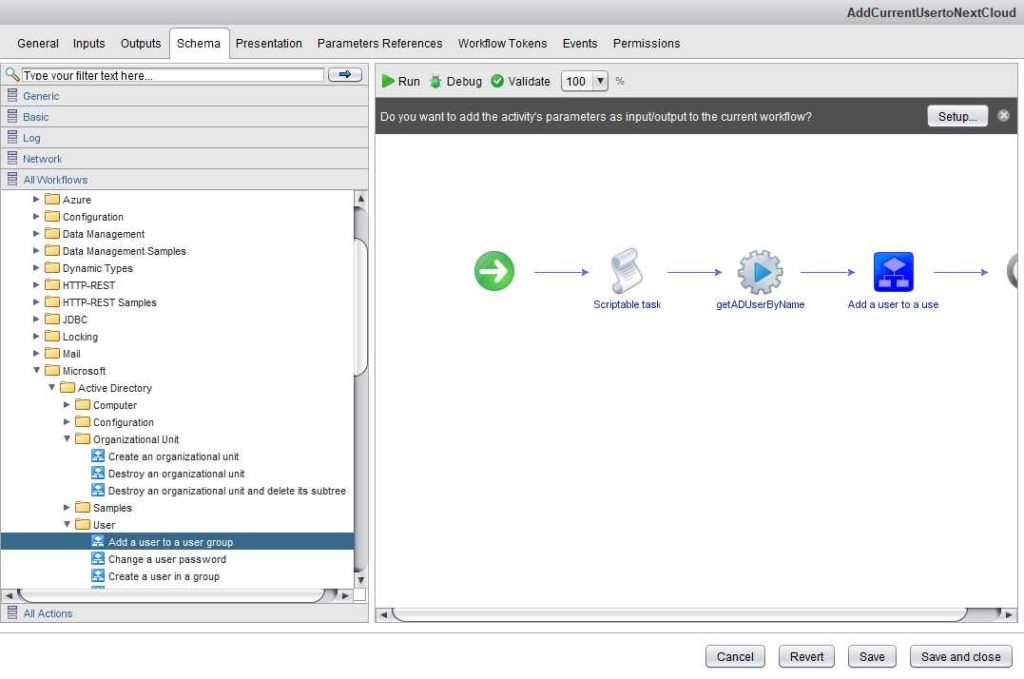
In the next screen I should go to Schema tab
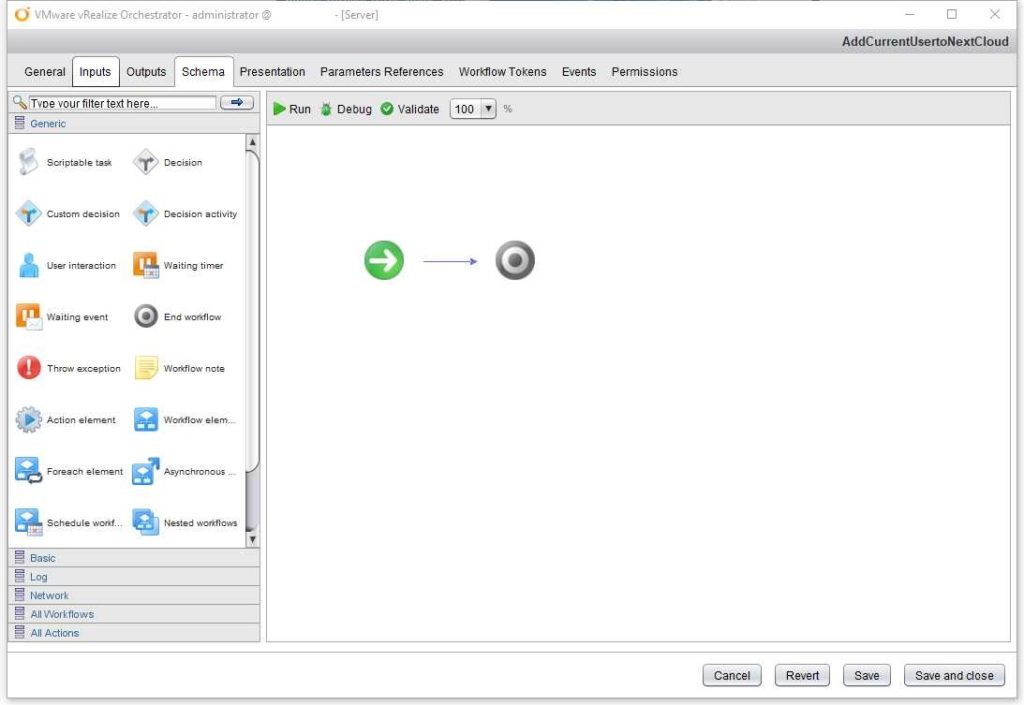
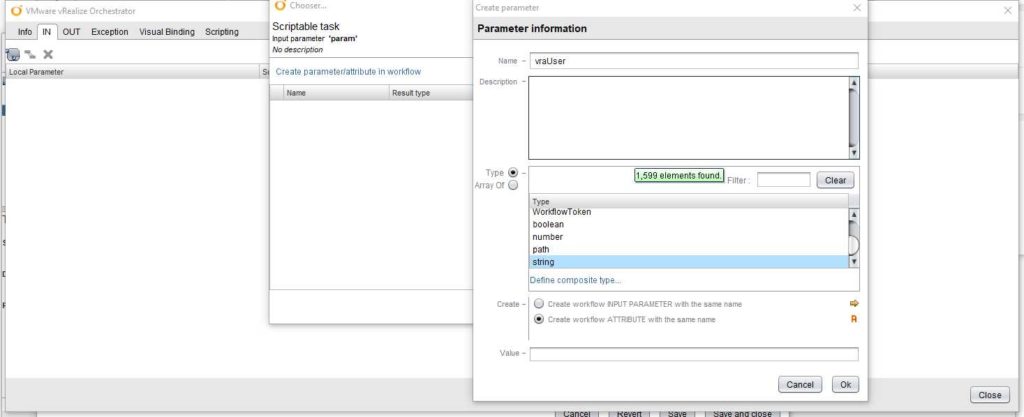
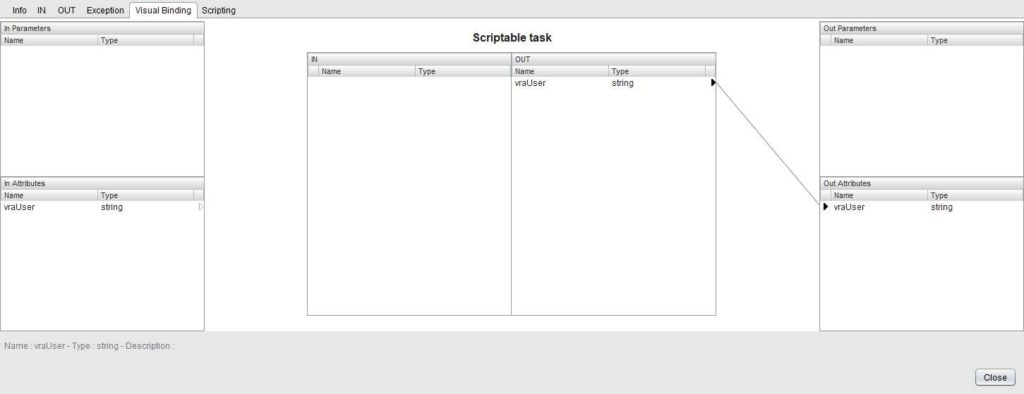
Now I Should drag a script task to the right window and configure it. I go to the output tab and create a output parameter in string type and named it “vraUser”.
In the visual binding tab I connect the vraUser to the output attribute
In the Scripting tab I should write the codes below, These codes helps me to fill the vraUser variable with the requested user.
var executionContext = System.getContext();

var vraUser = executionContext.getParameter("__asd_requestedBy");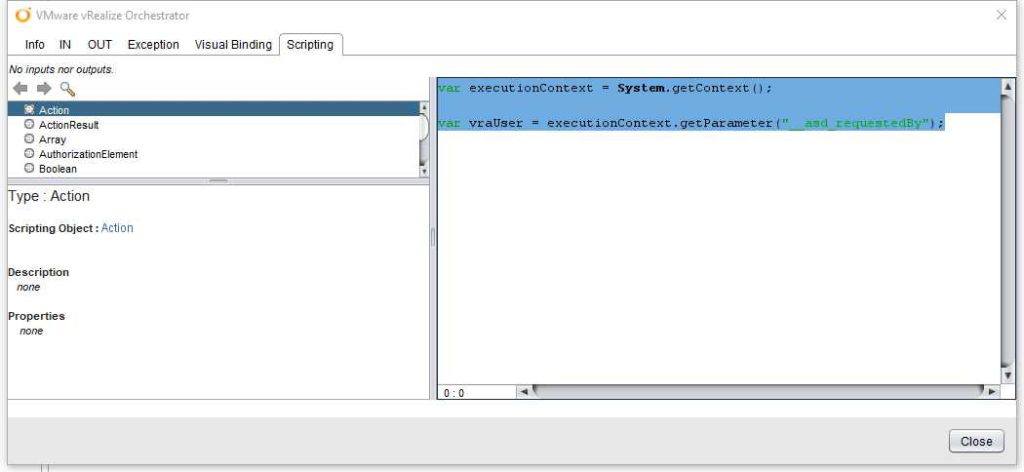
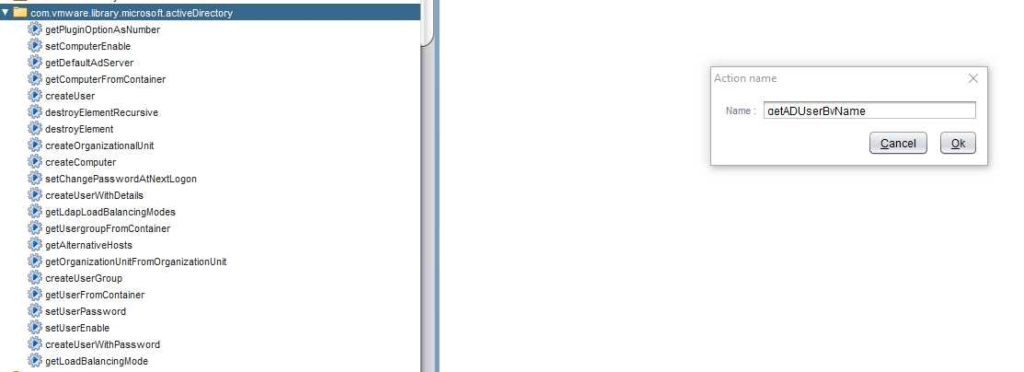
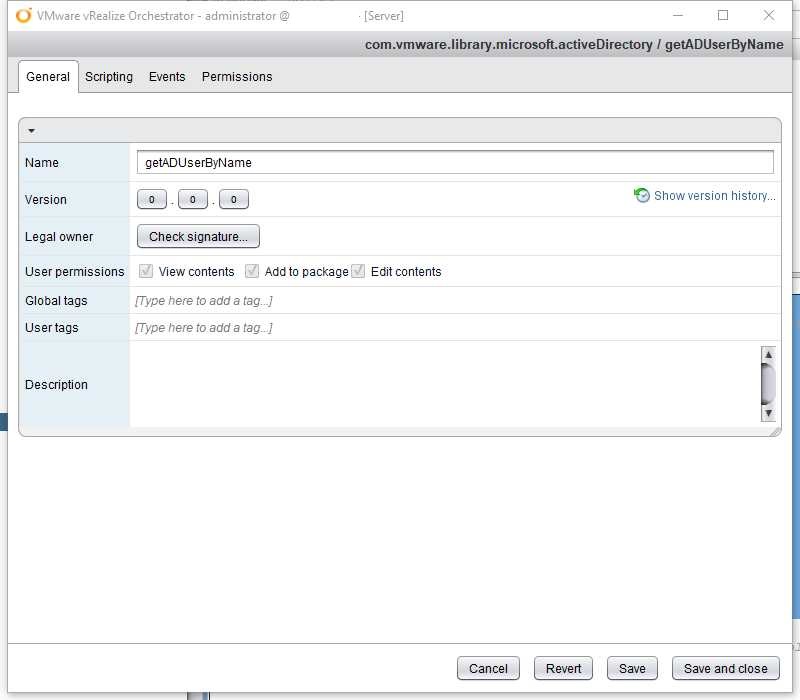
In the 2nd part I build an action to convert username string to AD:User format and reuse it in the future.Here I have shown how to create an action in vRO.
After login to the vRO client I should go to the Design section and select the action tab then right click on the com.vmware.library.microsoft.activeDirectory and select Add action
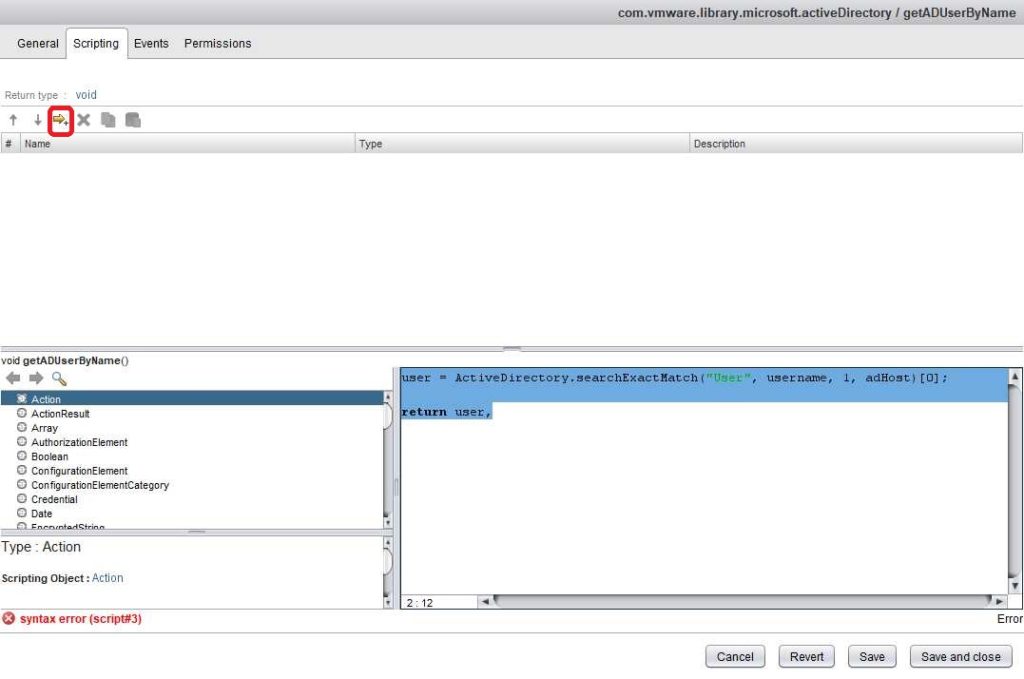
Click on the Scripting tab and enter this code:
user = ActiveDirectory.searchExactMatch("User", username, 1, adHost)[0];
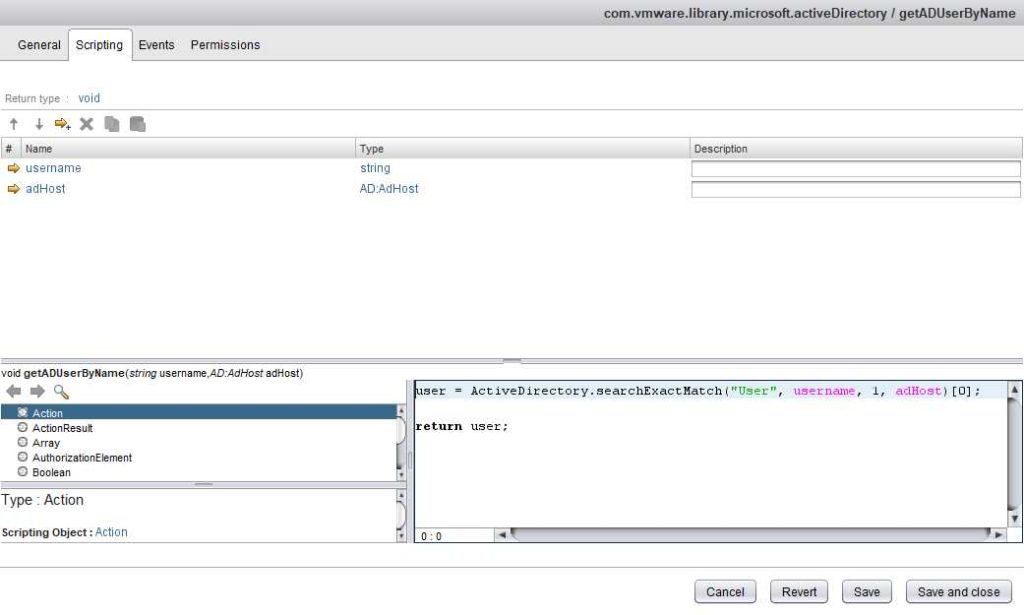
return user;Now I need to add attributes that needed here for input section.Click on the right arrow
I should create 2 attributes:
- username (String type) and
- adHost (AD:AdHost
Now I need to define Return type, click on void above the right arrow and set it to AD:User
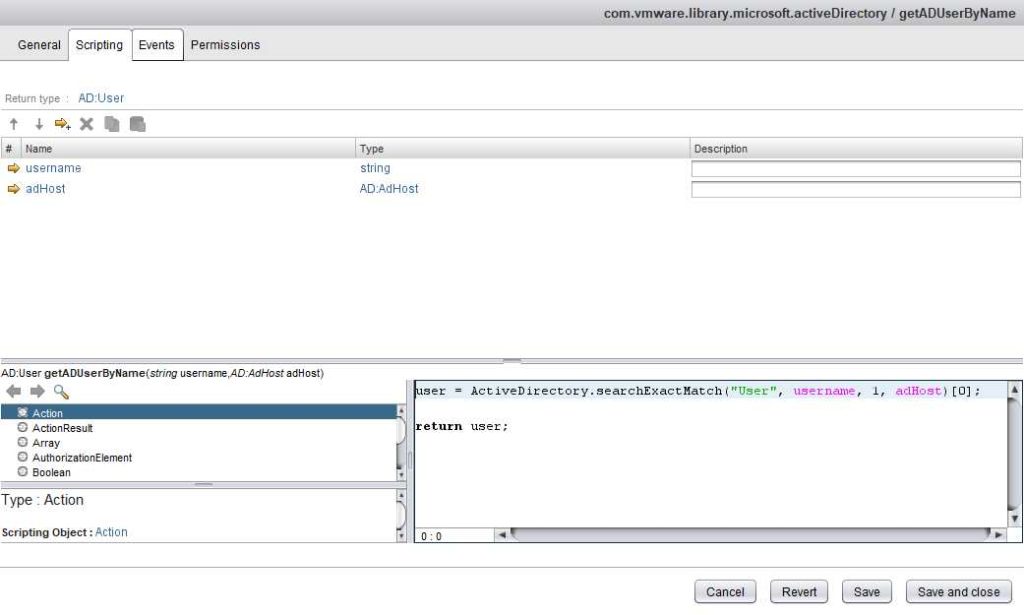
The action is ready!
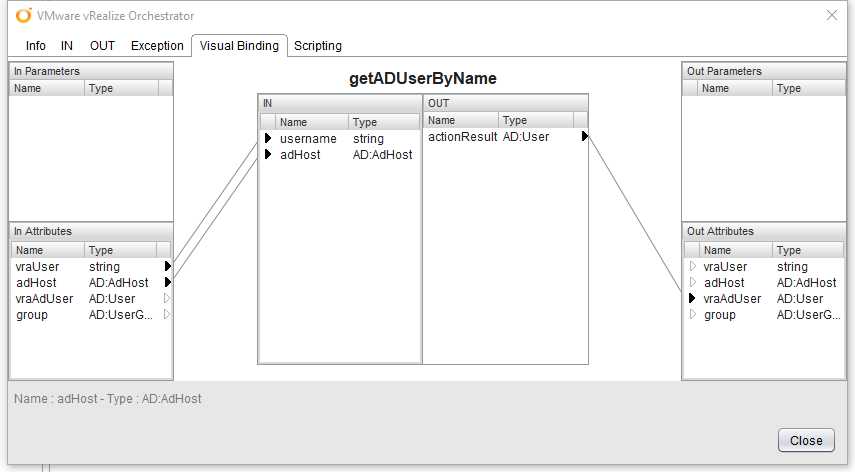
First I put my created action next to my script.
Drag vraUser to connect to the username I fill the username with my script in the first part ( It contains requested user)
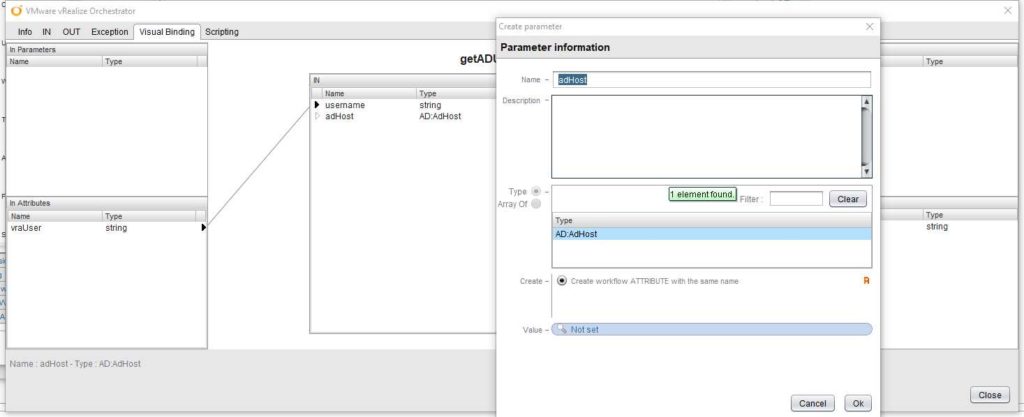
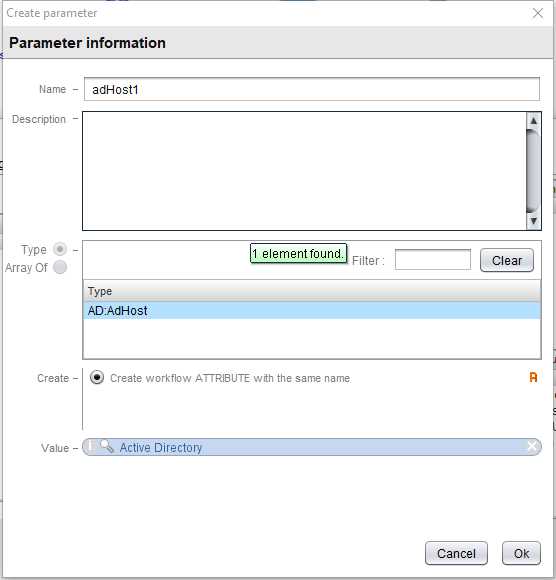
I also need to connect ad host from the middle window to the “In Attribute”. Here I need to define the adHost which means Active directory Server.

And select Active directory in the “Value” section
Then connect the actionResult to a space in Out Attributes and named it “vraAdUser”
the last part is putting the prepared workflow named “add a user to a user group”.
In this section I go and edit this workflow, so I go to the Visual Binding tab and configure it like this:
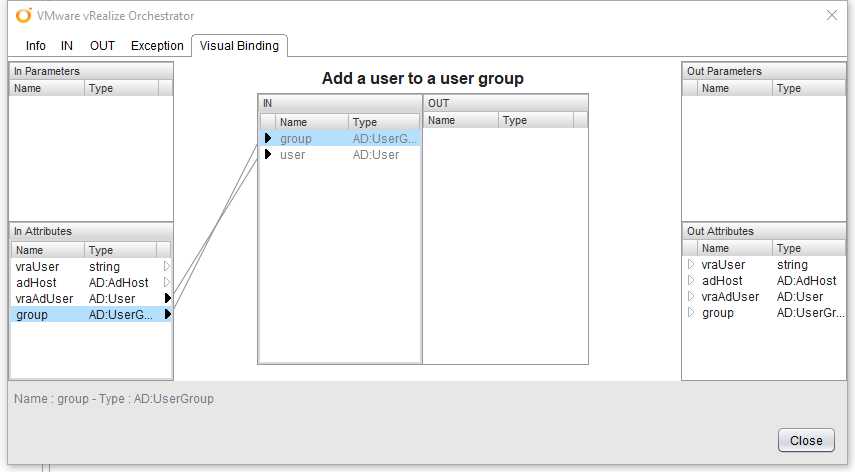
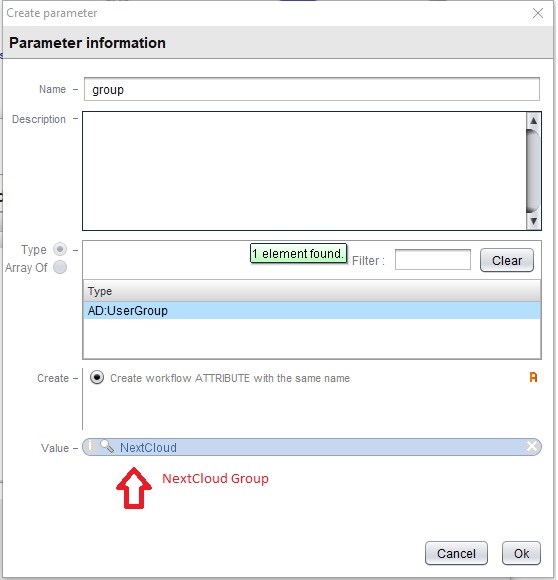
As shown above I connect user to “vraAdUser” which I configure it before in second part and it has contained the requested user in AD:User type and then connect the group and create an “In attribute” and configure it with NextCloud group.
Click OK and save the workflow.
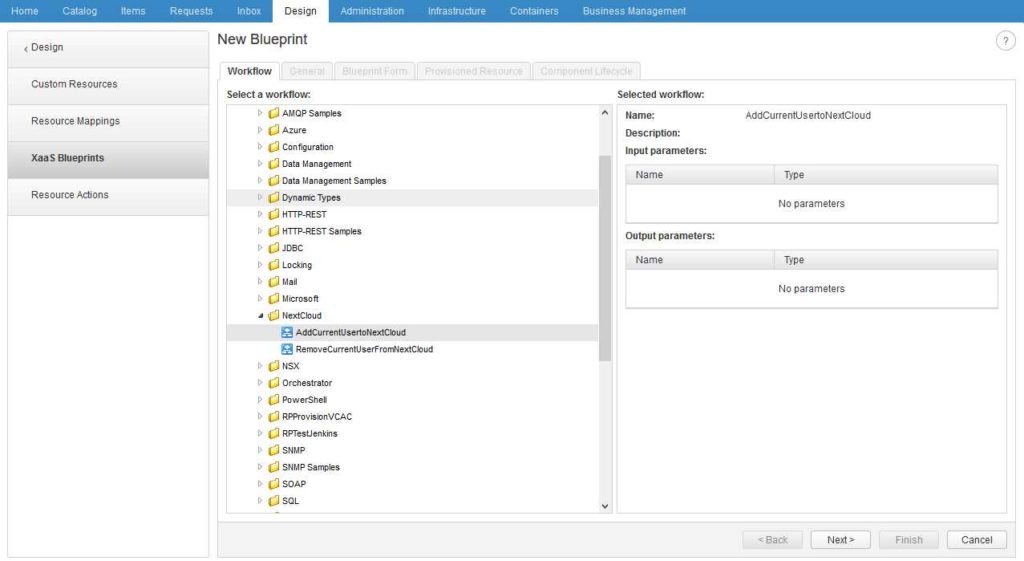
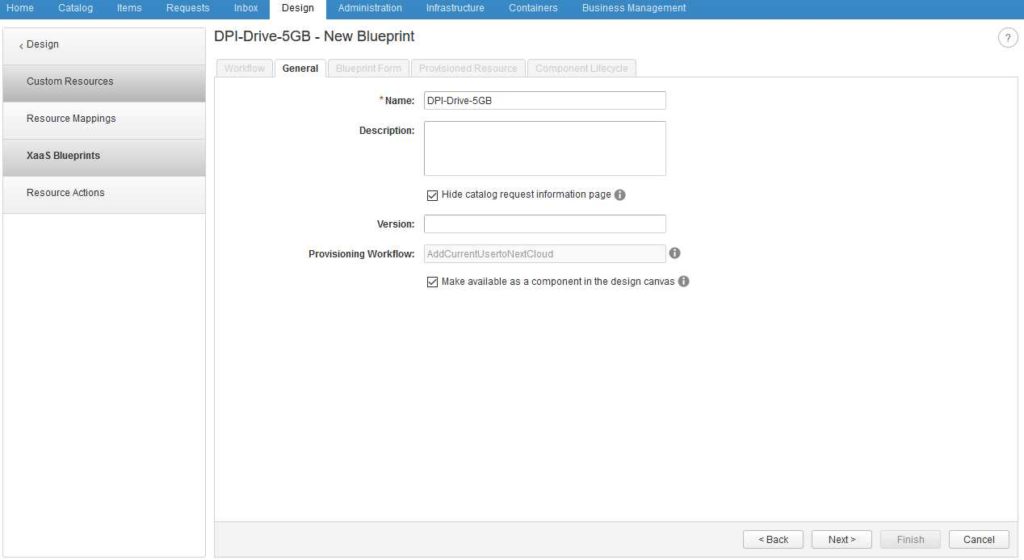
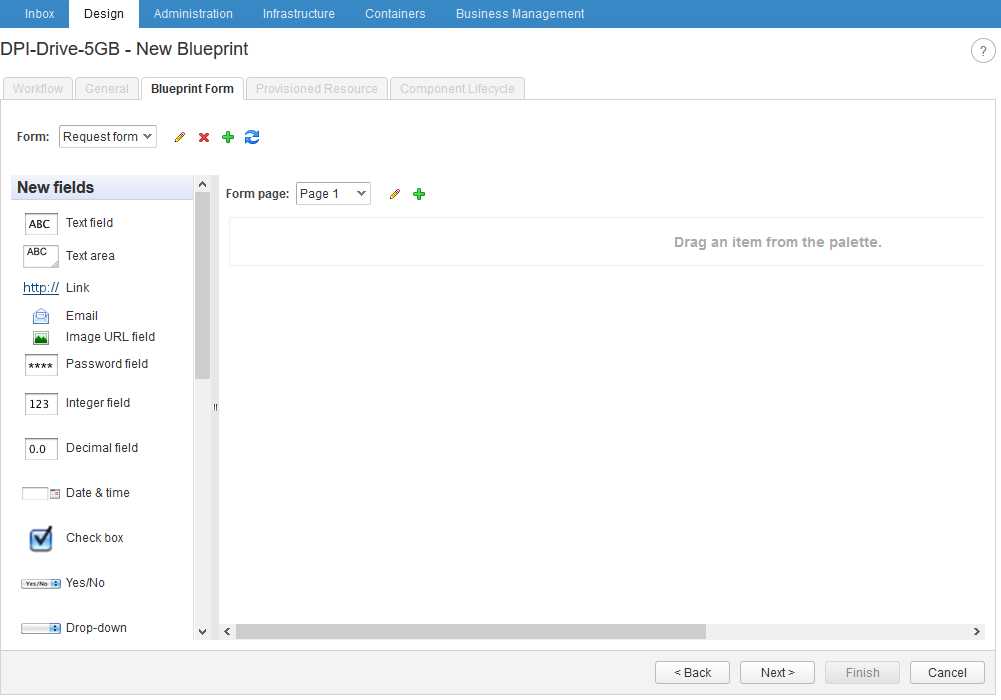
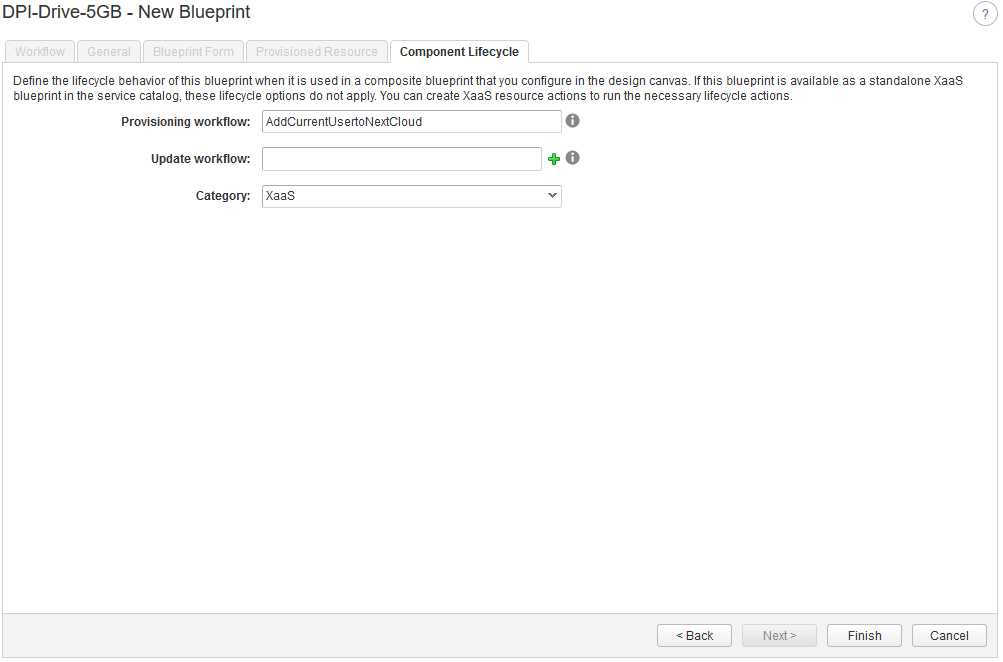
Now I must go and build a XaaS Blueprint in my vRA.

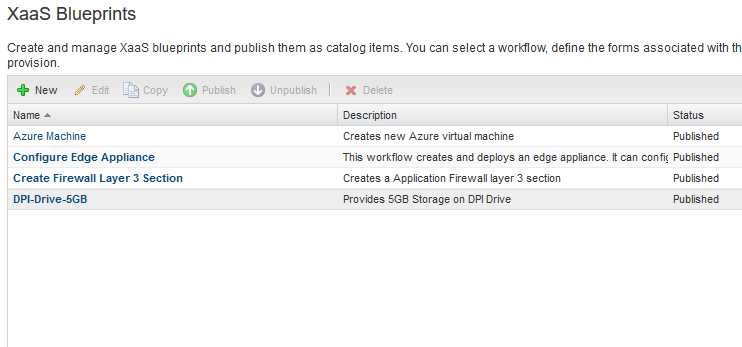
Don’t forget to publush your XaaS Blueprint
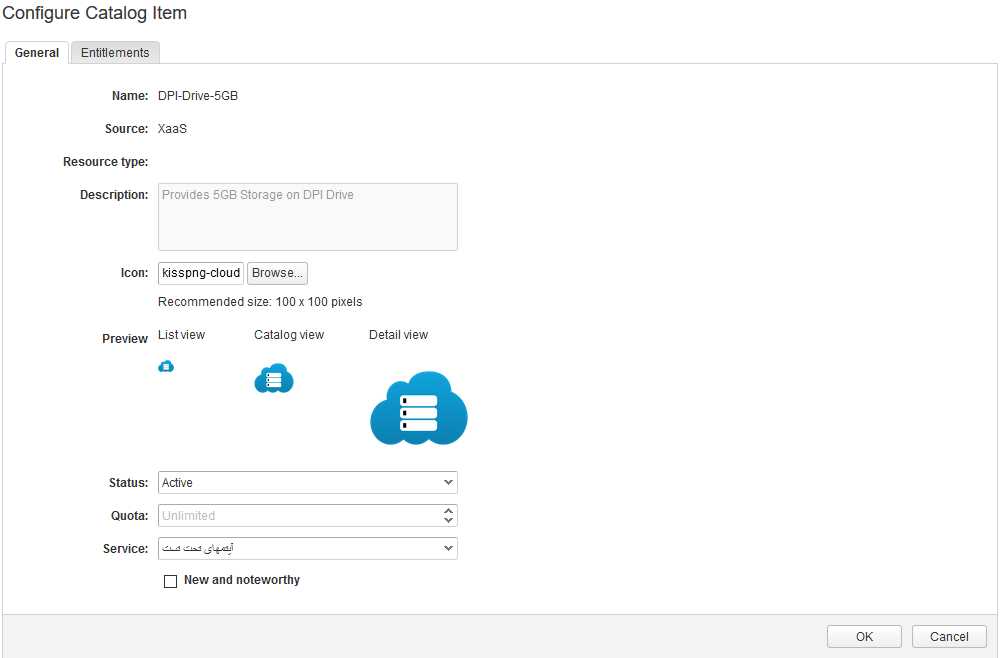
Now I need to go in catalog item and assign this XaaS Blueprint a service
Mission has completed.